With the right preparation, installing DirectAdmin takes less than half an hour. Without it, small snags from license errors to hostname warnings waste time. This guide walks through the order to follow when installing DirectAdmin on a clean VPS or server.
Before you start
Prepare the following before installing:
- A clean server. It should have no other web server, mail server or control panel installed. DirectAdmin installs those itself.
- A supported Linux distribution. Choose a current release that DirectAdmin supports, such as AlmaLinux, Rocky Linux, Debian or Ubuntu. It does not run on Windows servers.
- Enough resources. The panel is light; still, plan enough RAM and disk for your sites, databases and email. 2 GB of RAM is a reasonable start for a few small sites.
- A fixed IP address. The license is tied to the server’s IP address; if the IP changes, the license needs updating.
- Root access. You need SSH access as root (or a fully privileged user).
- License details. After getting the license, the credentials you are given are asked for during installation.
Settling which license plan suits you beforehand reduces the need to change plans after installation.
1. Update the system
Update the operating system before installing and reboot if needed. Starting with old packages is the most common cause of later incompatibilities.
2. Set the hostname
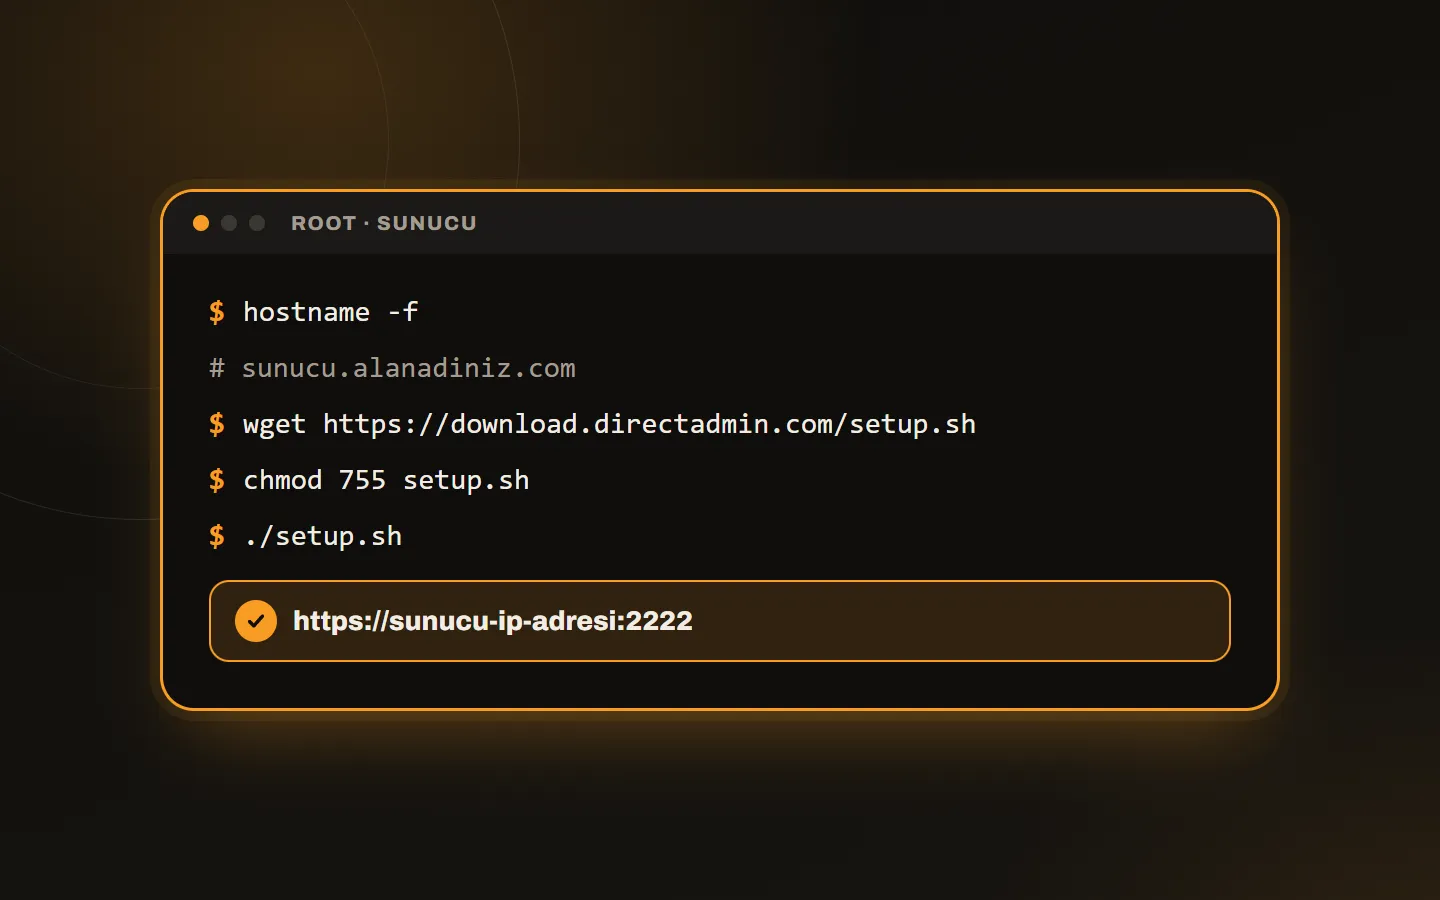
DirectAdmin expects a hostname in the form of a fully qualified domain name (for example server.yourdomain.com). That name must also point to the server’s IP address in DNS. To check:
hostname -fIf the output is a short name rather than a domain name, fix the hostname first.
3. Download and run the install script
DirectAdmin’s install script comes from the official download address:
wget https://download.directadmin.com/setup.sh
chmod 755 setup.sh
./setup.sh
The script asks in turn for your license details, the hostname and install options. The defaults work for most options. Installation can take tens of minutes depending on the server’s speed; running it inside screen or tmux keeps it going if your connection drops.
4. First login to the panel
When installation finishes, the script shows the admin user’s password and the panel address. You log in from the browser at https://server-ip-address:2222. On first open the browser may warn about the certificate; you can get a valid certificate for the panel itself afterwards.
5. First settings
After logging in, work through these in order:
- Change the admin password and keep it strong.
- Get an SSL certificate for the hostname so the panel connection is secure.
- Check the firewall and the status of services.
- Define the first reseller and user packages.
- Set up a plan for automatic backups. Details in the SSL and backups guide.
Common problems
- License cannot be verified: the server’s IP address may not match the license’s IP. Check the outgoing IP and the license record.
- Hostname warning: the hostname is not in domain-name form or does not point to the server in DNS.
- Installation was interrupted: if the connection dropped, re-running the script on a clean system is often the safest way.
- Port 2222 is unreachable: the provider’s firewall may have this port closed.
Leave the installation to us
You do not have to do any of these steps yourself. When you get a DirectAdmin license, we do the installation for free: you send your server details with a support ticket and get your login once the panel is ready. If you are looking at DirectAdmin for the first time, start with what is DirectAdmin. For broader server support, see our hosting and infrastructure service or write to us.